Free hunting printables.. perfect for a little boy's room or nursery! I created these for a friend..then we found out she was having a girl! So now I'm sharing! Simply click the links below each picture to download PDF file!
Monday, September 22, 2014
Saturday, August 30, 2014
DIY Fall Pumpkin Blocks
After discovering how mod podge and tissue paper make such a neat design, I became obsessed. I created these bad boys. No painting required!
What you will need:
4 pieces of scrap wood
Tissue paper
Construction paper
Mod podge
Floral wire
Burlap
Stencil
Sticks (I purchased mine at Michaels. I'm not sure what they were called but they were a few inches long and I just had my husband cut them with saw)
Start with your tissue. Cut it into strips. I did mine about 1 inch wide. Mod podge it to the wood. Apply a layer of mod podge over top.
Allow to dry.
Take your construction paper and trace out your letters. *tip: I used white chalk!* cut them out.
Glue your toppers on. I heavily used hot glue.
I then tied a piece of burlap around it.
I took my floral wire and folded it in half. I then went from one end and loosely wrapped it around my finger half way up. Then slid my finger out and loosened up the curls. I did the same thing to the other side and just wrapped it around the topper!
What you will need:
4 pieces of scrap wood
Tissue paper
Construction paper
Mod podge
Floral wire
Burlap
Stencil
Sticks (I purchased mine at Michaels. I'm not sure what they were called but they were a few inches long and I just had my husband cut them with saw)
Start with your tissue. Cut it into strips. I did mine about 1 inch wide. Mod podge it to the wood. Apply a layer of mod podge over top.
Allow to dry.
Take your construction paper and trace out your letters. *tip: I used white chalk!* cut them out.
Mod podge the letters to the blocks once the blocks are dry. Apply a layer over top as well.
Glue your toppers on. I heavily used hot glue.
I then tied a piece of burlap around it.
I took my floral wire and folded it in half. I then went from one end and loosely wrapped it around my finger half way up. Then slid my finger out and loosened up the curls. I did the same thing to the other side and just wrapped it around the topper!
halloween mason jars!
How cute are these!? I found them on pinterest last year and knew I had to make them!
All that you need is:- Mason jars
- Mod podge
- Tissue paper
- Construction paper
- Raffeta
- Lights
Mod podge the strips to the mason jars.
Apply a layer of mod podge over top. Be very careful. The tissue becomes very delicate until it dries.
Cut out the ghosts face from construction paper and mod podge it on.
After they are dry, add raffeta around pumpkin.
Stuff with lights!
Thursday, August 28, 2014
my second love... my budget binder
5 months ago I began a journey. What inspired this journey? Well, frankly, I was tired of owing money to everyone! It wasn't until I sat down and wrote everything out that I realized how much outstanding debt we had... 2 car payments.. a mortgage.. credit cards.. student loans.. personal loans for major home repairs we had to have. So I began creating this guy....
My new best friend.. my budget binder. What has little guy done for me? He has helped me pay off just a hair shy of $3,000 extra in debt in less than 5 months!
So what's in him that makes him so amazing?
In the beginning we have a zipper folder. I keep stamps, a calculator, a pen, highlighter, my checkbook, and payment books. Anything I need to pay my bills. The folder pocket I keep all my master copies and any bills I receive.
Next is a section for all of my account info.
A breakdown of the rest:
A section for each of our loan debts; ie auto loans and student loans. I keep track of payments I've made, how much was due and how much I paid. This way I can see how much I have paid that is extra towards the principal.
Mortgage. This section is the same as my loan debt. I keep track of when payments are made, how much was owed, paid, and extra toward principal.
Savings. Simply a ledger to keep track of how much is in our savings.
Expenses. I have 3 pages in my expenses. Gas, Grocery, and Misc. Expenses. This way I can keep track of outgoing money.
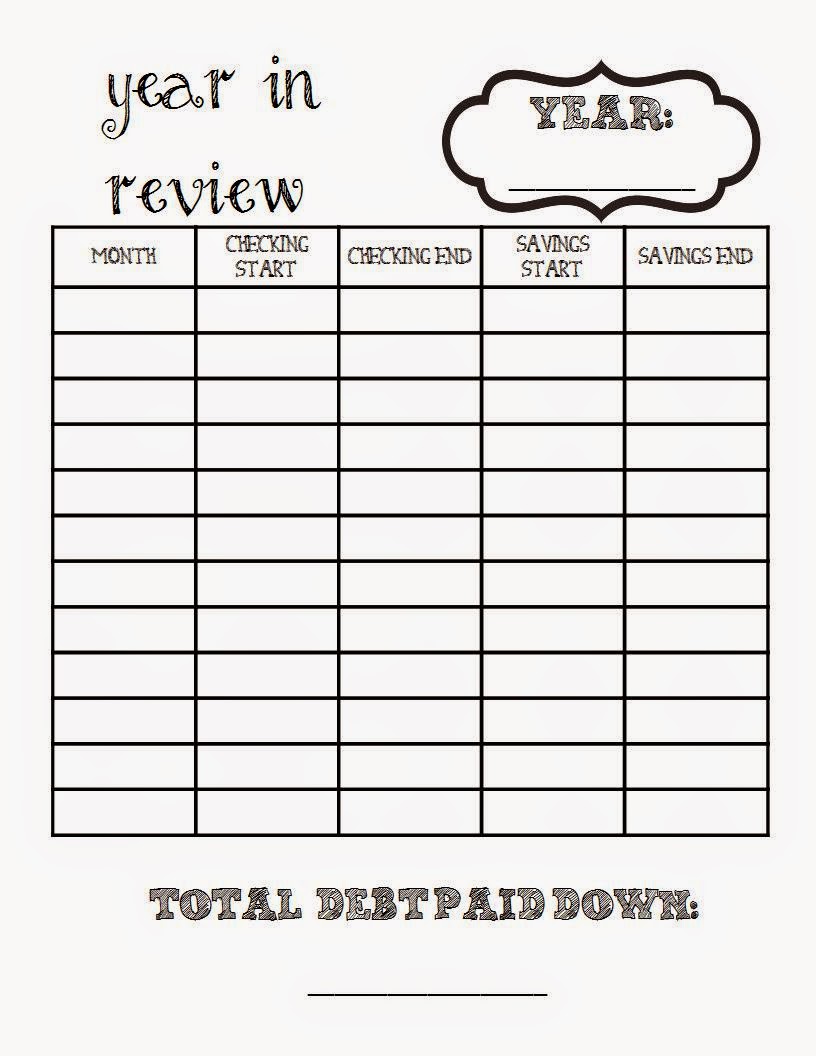
Yearly budget. This is just to keep track of checking and savings at the beginning and end of each month.
Outstanding debt. Here I keep a sheet for each credit card. Thankfully I'm down to one!! I keep track of all of my payments made. I also keep track of interest because that motivates me to pay faster!!! The first page of this section has an outstanding debt progress page. At the end of every month I go back and log how much extra was paid on credit cards, mortgage, or loans. This has been my motivator because I can see the progress I made!
Then we have the monthly budget. Here I break my bills down into sections: the first and the second half of the month. As I pay them, I put a check mark by them. Once they come out of my bank account, I highlight them.
I also have a monthly check in. Here I log twice each month. I keep track of income, total bills, total spent for gas, groceries, and misc. This way I can tell if we are staying within the amount we have set for each category.
Click each underlined section to get a free printable!
Organized shopping!
A few months ago I ventured into the world of couponing. I can save while still getting the brands I love! I have found that shopping and couponing is so much easier and less stressful when you are organized! I wanted to share with you my shopping list I created! I have included a free printable! Enjoy and happy shopping! Just click the link below!!
Saturday, August 24, 2013
Before and After!
Bit by bit we are making our house more our home! We still have about 100 things on our to do list, but everything was put on halt when we had to replaced our central air.. eeep. I wanted to share all of the things we have done so far! :)
Our biggest project yet...
Kitchen... BEFORE!
The Kitchen.. AFTER!
So much has been done, but all that is left is to replace the fridge! The rest of the appliances have been replaced. The floor has new tile. New countertops. The old vinyl backsplash was ripped out and tiled with stone and accent pieces. Quarter round trim was added to the base trim to give it more of a dimensional look. The cabinets have been moved up a FOOT to give us more space. They have also been refinished and new hardware added. The old trim at the top of the cabinets has been removed and crown has been added! I am so in love with my kitchen!
Next was one of our other big projects.. Roey's playroom. I don't have complete shots since everything has been finished, so I will have to update even more later.
BEFORE....
Playroom AFTER!
Since Rosalie's playroom is actually the master bedroom of the house, she also has a walk in closet.
BEFORE...
AFTER!
Kevin's Mancave. We started it.. but it's not anywhere close to being finished!
Before... this was literally the morning we moved in..
In Progress...
The Mancave bathroom before..
And After!

Rosalie's Closet.. The shelves that were in there when we moved in were nice... but it was hard to hang her clothes in front.. everything was mostly behind the doors.
Before...
After!
We did the same thing to our closet.. except the walls are painted dark brown and the organizers are all solid brown!
We have temporarily flipped the downstairs bathroom. We eventually want to replace EVERYTHING.. but to make it a bit prettier until then..
Before...
After!
The last project.. our pool. Sigh, as much as we LOVED our pool, the deck was in bad shape.. and the pool itself was rusted at the bottom. Even with a brand new liner, the rust spots were rubbing it putting in little holes, causing water to leak. We constantly had to add water and the walls felt weak, so we felt it was best to take it down. I'm sure in a few years we will get another.. but not nearly as big since there are just the three of us!
Before..
After!
We used the level ground and covered it with rubber mulch and made a play area! We moved the trampoline where the deck was because it had completely killed the grass where it was before. On another note, that dead grass area is now all pretty :)
Subscribe to:
Posts (Atom)